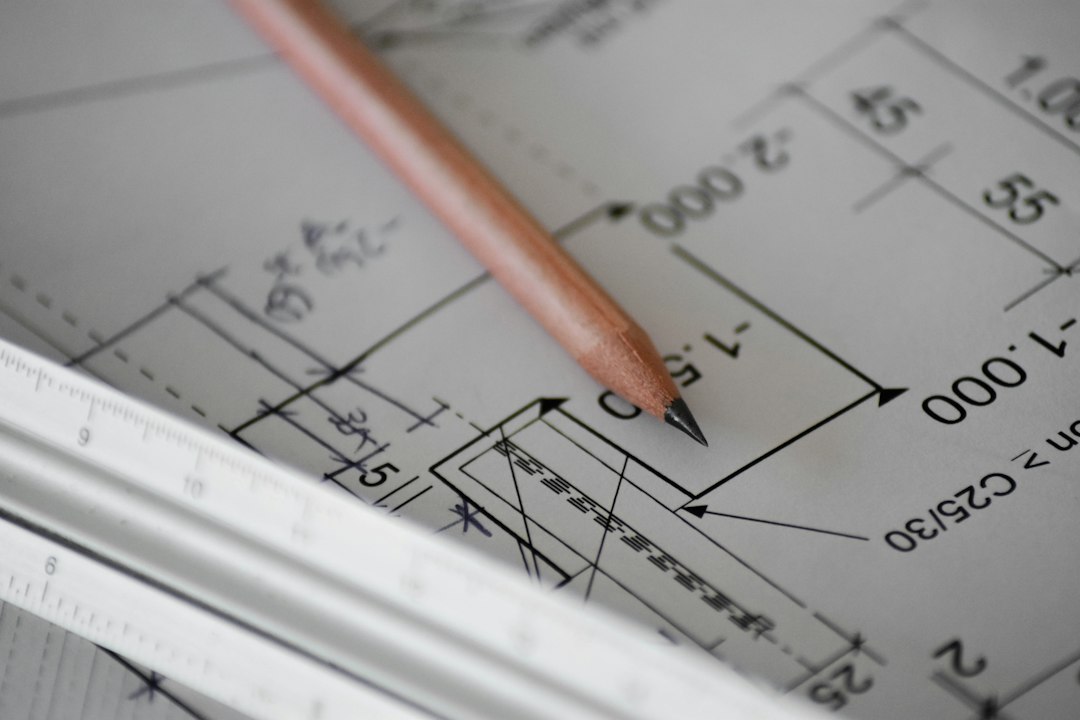
A booth plan that looks good on paper doesn't necessarily run smoothly in reality. A proper exhibition floor plan process doesn't start in CAD software. It starts with standing inside the hall that will host the event.
Step 1: site inspection before drawing a single line
Before putting pen to paper, whoever owns the floor plan needs to visit and inspect the hall: the positions of structural columns, emergency exits, the sprinkler piping on the ceiling, the ceiling height in each area, the location of loading docks and the floor load limits. Many theoretical drawings that look good in software fall apart on site because someone forgot a row of columns sitting in the middle of the main aisle.
Step 2: determine the usable area
From the hall's gross square footage, the designer works out the usable net square footage after subtracting the mandatory function areas: registration, stage, food area and service areas. This step decides the maximum number of booths that can be sold.
Step 3: choose the booth type configuration
According to IAEE guidance, there are five basic booth types: linear (a straight row, only one side facing the aisle), perimeter (the outer row against the wall), end-cap (the end of a row, two sides facing the aisle), peninsula (three sides facing the aisle) and island (four sides facing the aisle, completely independent). A heavy industry event needs many island booths for large machinery, while a small event might use mostly linear booths to maximize sellable area.
Step 4: lay out aisles and traffic flow
Traffic flow (the movement of visitors) is affected by the number, type and size of booths; the activity inside each booth; the number of visitors; opening hours and competing events at the same time. The designer needs to avoid creating "dead spots," areas with dead-end aisles or blocked sightlines that visitors never reach.
Step 5: add feature areas and demonstration zones
Special areas such as a product demonstration stage, a sponsored coffee area, a phone-charging area and a prize-draw area all need to be included in the plan from the start, since they both keep visitors longer and can be distracting if placed wrongly. A general rule is to limit noise to a maximum of 85dB for activities inside booths, so they don't disturb the neighboring booth.
Step 6: send the draft to returning exhibitors first
Before sales open widely, most organizers send the exhibition floor plan drawing to exhibitors from the previous edition so they can hold spots by priority (priority points), based on years of participation and area rented. This is also the time for a last check of the problem positions from the previous edition.
Step 7: review after the event to improve next time
After the exhibition ends, the plan needs to be reviewed: which areas jammed with visitors, which booths were "dead" at the end of an aisle, and whether the feature areas really drew the traffic expected. These notes become input for the exhibition floor plan process in the next edition, instead of starting over each time.
Tools that support each step
At the site inspection step, many teams still use plain pen, paper and a tape measure alongside a laser measure, because details such as floor slope or the position of in-floor outlets are sometimes hard to show accurately on a digital drawing without handwritten notes taken on the spot. At the layout step, dedicated CAD software calculates areas automatically and spots booth position conflicts faster than hand drawing, but someone with field experience still needs to check it before the final version is published.
Who should take part in each step
The exhibition floor plan process is rarely carried out in full by one person. The site inspection needs a fire-safety representative or a venue representative; the booth type arrangement needs input from the sales team because they understand the real needs of each exhibitor group; adding feature areas needs coordination with the marketing and sponsorship teams, since many special areas are sponsored by outside partners. Assigning clear roles for each step helps avoid one person having to decide everything without enough information from the departments involved.